Piezo buzzer controlled push button using Arduino & Transceiver - Wirele...
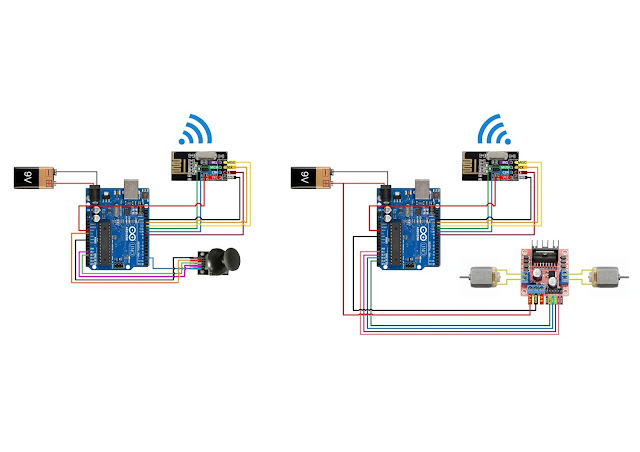
Circuit Diagram:
Required Components:
Arduino Uno/Nano - 2 nos
Transceiver - 2 Nos
Battery - 2 Nos
Push Button - 1 Nos
Piezo Buzzer - 1 Nos
10k resister - 1 Nos
330k resister - Nos
Program Code:
Transmitter Code:
#include <SPI.h>
#include "nRF24L01.h"
#include "RF24.h"
byte data[1];
const uint64_t Pipe = 0xF0F0F0F0A1ll;
RF24 radio(9,10); // CE,CSN:
void setup() {
Serial.begin(9600);
pinMode (7,INPUT_PULLUP);
radio.begin();
radio.openWritingPipe(Pipe);
// put your setup code here, to run once:
}
void loop() {
if(digitalRead(7)==HIGH){
data[0]=1;
}
if(digitalRead(7)==LOW){
data[0]=0;
}
radio.write(data,1);
// put your main code here, to run repeatedly:
}
Receiver Code:
#include <SPI.h>
#include "RF24.h"
#include "nRF24L01.h"
#include "Tone.cpp"
byte data[1];
boolean var;
const uint64_t Pipe=0xF0f0f0f0A1ll;
RF24 radio(9,10); // CE,CSN:
void setup() {
Serial.begin(9600);
radio.begin();
radio.openReadingPipe(1,Pipe);
radio.startListening();
pinMode (7,OUTPUT);
// put your setup code here, to run once:
}
void loop() {
if(radio.available()){
var=false;
while(!var){
var=radio.read(data,1);
if(data[0]==0){
tone(7,3000);
delay(10);
}
else{
noTone(7);
}
}
}
}
Video:


hello what a nice project. I myself too wanna use the 'nrf24l01' with a button but in the receiver code, I find an error message here....
ReplyDelete" var=radio.read(data,1); "
do you happen to know why??