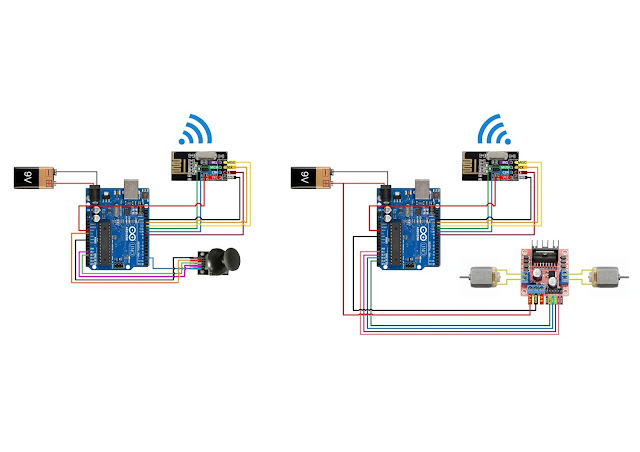
Servo motor controlled by Push button using Arduino - Wired Connection
Circuit Diagram:
Required Components:
Arduino uno/nano - 1 Nos
Battery - 1 Nos
Servo Motor - 1 Nos
Push button - 2 Nos
10k Resister - 2 Nos
Program Code:
#include <Servo.h>
Servo myservo; // create servo object to control a servo
int angle =90; // initial angle for servo
int angleStep = 5;
int LEFT = 4; // pin 4 is connected to left button
int RIGHT = 2; // pin 2 is connected to right button
void setup() {
Serial.begin(9600);
myservo.attach(6); // attaches the servo on pin 6 to the servo object
pinMode(LEFT,INPUT_PULLUP); // assign pin 4 ass input for Left button
pinMode(RIGHT,INPUT_PULLUP);// assing pin 2 as input for right button
myservo.write(angle);// send servo to the middle at 90 degrees
}
void loop() {
while(digitalRead(RIGHT) == LOW){
if (angle > 0 && angle <= 180) {
angle = angle - angleStep;
if(angle < 0){
angle = 0;
}else{
myservo.write(angle); // move the servo to desired angle
Serial.print("Moved to: ");
Serial.print(angle); // print the angle
Serial.println(" degree");
}
}
delay(10); // waits for the servo to get there
}// while
while(digitalRead(LEFT) == LOW){
if (angle >= 0 && angle <= 180) {
angle = angle + angleStep;
if(angle >180){
angle =180;
}else{
myservo.write(angle); // move the servo to desired angle
Serial.print("Moved to: ");
Serial.print(angle); // print the angle
Serial.println(" degree");
}
}
delay(10); // waits for the servo to get there
}
}
Video:


Comments
Post a Comment