Servo motor controlled by Push button using Arduino & Transceiver - Wire...
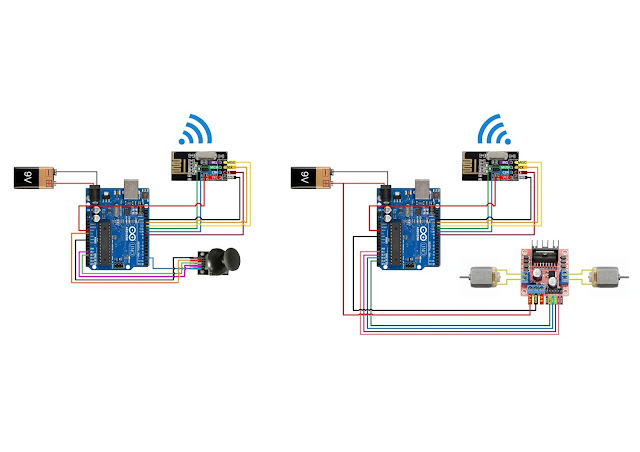
Circuit Diagram:
Required Components:
Arduino uno/nano - 2 Nos
Battery - 2 Nos
Transceiver - 2 Nos
Servo Motor - 2 Nos
Push button - 2 Nos
10k Resister - 2 Nos
Program Code:
Transmitter Code:
#include <SPI.h>
#include <RF24.h>
#include <nRF24L01.h>
int data[2];
RF24 radio(9,10);//check your pin number on RF24 github check you have the right
//pin for the arduino you're using. this pin number is diffrent for diffrent arduino models.
const uint64_t pipe = 0xF0F0F0F0D2L;
int buttonPin1 = A1;
int buttonPin2 = A2;
int buttonState1 = 0;
int buttonState2 = 0;
void setup()
{
Serial.begin(9600);
radio.begin();
radio.openWritingPipe(pipe);
pinMode(buttonPin1, INPUT_PULLUP);
pinMode(buttonPin2, INPUT_PULLUP);
}
void loop()
{
buttonState1 = digitalRead(buttonPin1);
if (buttonState1 == HIGH)
{
data[1] = 170;
radio.write(data, sizeof(data));
}
if(buttonState1 == LOW)
{
data[1] = 20;
radio.write(data, sizeof(data));
}
buttonState2 = digitalRead(buttonPin2);
if (buttonState2 == HIGH)
{
data[0] = 170;
radio.write(data, sizeof(data));
}
if (buttonState2 == LOW)
{
data[0] = 20;
radio.write(data, sizeof(data));
}
Serial.println(data[0]);
Serial.println(data[1]);
}
Receiver Code:
#include <SPI.h>
#include <nRF24L01.h>
#include <RF24.h>
#include <Servo.h> // include the Servo library
Servo myServo1;
Servo myServo2;
int data[2];
RF24 radio(9,10);//check your pin number on RF24 github check you have the right
//pin number for the arduino you're using. this pin is diffrent for diffrent arduino models.
const uint64_t pipe = 0xF0F0F0F0D2L;
void setup()
{
myServo1.attach(5);
myServo2.attach(6);
Serial.begin(9600);
radio.begin();
radio.openReadingPipe(1, pipe);
radio.startListening();
}
void loop(){
if(radio.available()){
bool done = false;
while (!done) {
done = radio.read(data,sizeof(data));
if (data[1] == 170) {
myServo1.write(data[1]);
}else{
myServo1.write(20);
}
if (data[0] == 170) {
myServo2.write(data[0]);
}else{
myServo2.write(20);
}
}
Serial.println(data[0]);
Serial.println(data[1]);
}
}
Video:


Hey,
ReplyDeleteAnyone knows which exact transceiver he used there?
@Fresh the one used above is known as the nRF24L01+ module, such transceivers come in two types the nRF24L01+ module and the nRF24L01+ PA/LNA module. The only difference between the two is the range in this case is 100m vs 1000m.
Delete89 111 117 114 32 109 111 109 10
Delete